Complete Path For Deploying Project On Digital-Ocean
With R2, Nginx, Redis, Node.js


To deploy node.js project, at the very first you have to buy a droplet or an instance on the digital ocean and make non-root user, below i have shared some screenshots of buying a droplet and creating a non-root user.
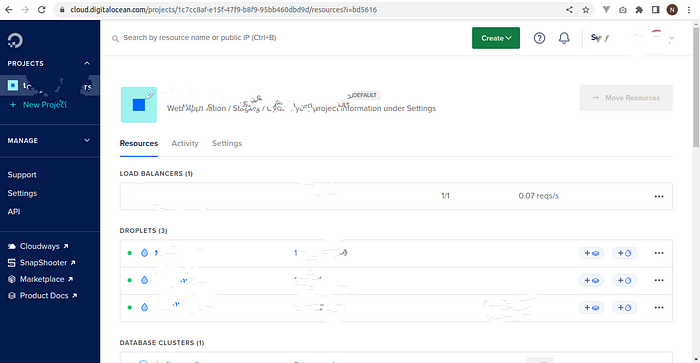
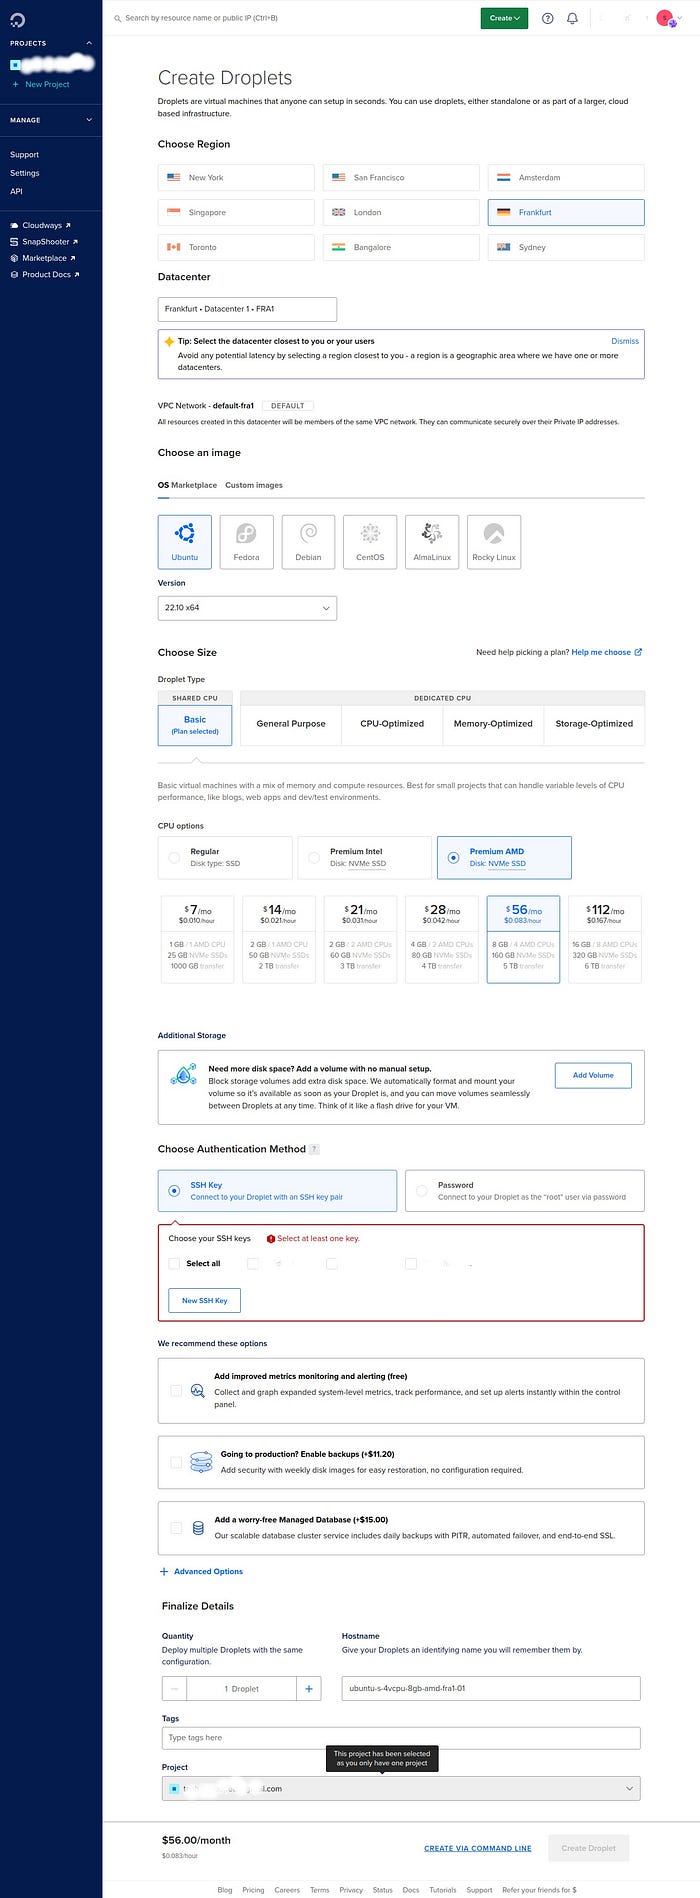
In above screenshot, there is a create button, after clicking this button you have to select droplet and then you will get following screen.
select your prefered server, OS, give name to your droplet.
select your prefered plan and setup ssh keys to have passwordless login.
ssh setup :- 1)open your local terminal and type “ssh-keygen”.
2) click on “add new ssh key”.
3) copy and paste key created on your local machine and save this.
click on “create droplet”
then your drplet will be created, you will get your droplets IP.
now open your droplet’s console.
you will get logged in as root user.
now we will create non-root user with sudo permissions, we will do everything in future using this user.
type “adduser $userName”.
Granting Administrative Permissions to non-root user
type “usermod -aG sudo $userName”.
Now, when logged in as your regular user, you can type sudo before commands to run them with superuser privileges.
now we’r done with basic things,
now you will need a Domain name pointed to your droplet’s IP address.
now we will install NginX.
NginX
Since this is our first interaction with the apt packaging system in this session, we will update our local package index so that we have access to the most recent package listings. type “sudo apt update” in the console.
Now, we can install Nginx using this command : “sudo apt install nginx”.
after this apt will install Nginx and any required dependencies to your server.
Adjusting nginx firewall:-
Before testing Nginx, the firewall software needs to be adjusted to allow access to the service, nginx by default registers it-self as service.
List the application configurations by typing, "sudo ufw app list”
you should get output like given below.
Available applications:
  Nginx Full
  Nginx HTTP
  Nginx HTTPS
  OpenSSH
Nginx HTTP: This profile opens only port 80 (normal, unencrypted web traffic)
Nginx HTTPS: This profile opens only port 443 (TLS/SSL encrypted traffic)
Nginx Full: This profile opens both port 80 (normal, unencrypted web traffic) and port 443 (TLS/SSL encrypted traffic)
you can allow any traffic profile that you want by typing
“ sudo ufw allow ‘Nginx HTTP’ ”
In our case we will use http and https both so we are going to use full access. by command
“ sudo ufw allow ‘Nginx Full’ ”
You can verify the change by typing:
“ sudo ufw status ”
We can check with the systemd init system to make sure the service is running by typing:
“ systemctl status nginx ”
this command will give you output like shown below :
Output● nginx.service - A high performance web server and a reverse proxy server
   Loaded: loaded (/lib/systemd/system/nginx.service; enabled; vendor preset: enabled)
   Active: active (running) since Fri 2020-04-20 16:08:19 UTC; 3 days ago
     Docs: man:nginx(8)
 Main PID: 2369 (nginx)
    Tasks: 2 (limit: 1153)
   Memory: 3.5M
   CGroup: /system.slice/nginx.service
           ├─2369 nginx: master process /usr/sbin/nginx -g daemon on; master_process on;
           └─2380 nginx: worker process
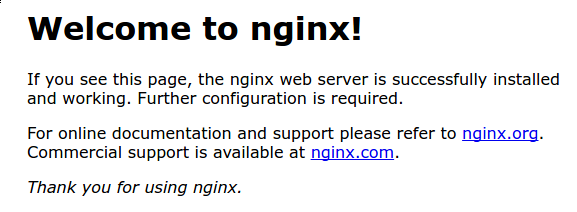
Now you can check if the nginx is working on browser,
Just search following line on browser :- “ https://your_server_ip”
you will get default Nginx landing page
let’s take a look at some basic management commands :
To stop nginx server : “sudo systemctl stop nginx”
To start nginx server : “sudo systemctl start nginx”
To restart nginx server : “sudo systemctl restart nginx”
# setting up your domain name to the system
Nginx on Ubuntu 20.04 has one server block enabled by default that is configured to serve documents out of a directory at /var/www/html. While this works well for a single site, it can become unwieldy if you are hosting multiple sites. Instead of modifying /var/www/html, let’s create a directory structure within /var/www for our your_domain site, leaving /var/www/html in place as the default directory to be served if a client request doesn’t match any other sites.
Create the directory for your_domain as follows, using the -p flag to create any necessary parent directories:
“sudo mkdir -p /var/www/$domainName/html”
Next, assign ownership of the directory with the $USER environment variable:
“sudo chown -R $USER:$USER /var/www/$domainName/html”
The permissions of your web roots should be correct if you haven’t modified your umask value, which sets default file permissions. To ensure that your permissions are correct and allow the owner to read, write, and execute the files while granting only read and execute permissions to groups and others, you can input the following command:
“sudo chmod -R 755 /var/www/$domainName”
Next, create a sample index.html page using nano (text editor):
“sudo nano /var/www/$domainName/html/index.html”
and write some HTML code inthis file
eg.<html>
<head>
<title>Welcome!</title>
</head>
<body>
<h1>Success! Your domain is working!</h1>
</body>
</html>
Save and close the file by pressing Ctrl+X to exit, then when prompted to save, Y and then Enter.
In order for Nginx to serve this content, it’s necessary to create a server block with the correct directives.
let’s make a new configuration at /etc/nginx/sites-available/$domainName:
“sudo nano /etc/nginx/sites-available/$domainName”
this will create and open configuration file paste in the following content to the file.
server {
listen 80;
listen [::]:80;
root /var/www/your_domain/html;
index index.html index.htm index.nginx-debian.html;
server_name your_domain www.your_domain;
location / {
try_files $uri $uri/ =404;
}
}
Notice that we’ve updated the root configuration to our new directory, and the server_name to our domain name.
Next, let’s enable the file by creating a link from it to the sites-enabled directory, which Nginx reads from during startup:
“sudo ln -s /etc/nginx/sites-available/your_domain /etc/nginx/sites-enabled/”
To avoid a possible hash bucket memory problem that can arise from adding additional server names, it is necessary to adjust a single value in the /etc/nginx/nginx.conf file. Open the file:
“sudo nano /etc/nginx/nginx.conf”
Find the server_names_hash_bucket_size directive and remove the # symbol to uncomment the line. If you are using nano, you can quickly search for words in the file by pressing CTRL and w.
Now after editing this file check for syntax errs by command :
“sudo nginx -t”
Restart nginx to enable changes.
“sudo systemctl restart nginx”
now we have to install certbot for using https (secured) connection.
type : “sudo apt install certbot python3-certbot-nginx”
after installing certbot successfully,
let’s run Certbot and fetch our certificates. in order to use https protocol
type :“sudo certbot — nginx -d yourDomain.com -d yourDomain.com ”
This runs certbot with the --nginx plugin, using -d to specify the domain names we’d like the certificate to be valid for.
If this is your first time running certbot, you will be prompted to enter an email address and agree to the terms of service. After doing so, certbot will communicate with the Let’s Encrypt server, then run a challenge to verify that you control the domain you’re requesting a certificate for.
If that’s successful, certbot will ask how you’d like to configure your HTTPS settings.
# Auto Renewal of certificates
Let’s Encrypt’s certificates are only valid for ninety days. This is to encourage users to automate their certificate renewal process. The certbot package we installed takes care of this for us by adding a systemd timer that will run twice a day and automatically renew any certificate that’s within thirty days of expiration.
You can query the status of the timer with systemctl:
“sudo systemctl status certbot.timer”
To test the renewal process, you can do a dry run with certbot:
“sudo certbot renew — dry-run”
If you see no errors, you’re all set.
Now visit your domain name on browser.
Now we are all set to clone and run our node.js project.
type “cd” to get on root directory of current user.
now we will make folder called /apps and save our projects to this folder.
for that type “mkdir apps” and “cd apps”
now we are into apps folder.
clone your project with ssh keys, (why ssh keys --> when we have to update our code then everytime we will be asked for password if its not cloned with ssh to avoid this we will clone project with ssh key)
by generating ssh key on droplet’s console,
by typing “ssh-keygen”
copy the ssh key and paste in your gitlab’s account (gitlab, github, bitbucket).
now copy ssh url of project, and clone on console,
by typing “git clone YOUR_URL”
# Installing node.js
First, install the NodeSource PPA in order to get access to its contents. Make sure you’re in your home directory, and use curl to retrieve the installation script for the most recent LTS version of Node.js from its archives.
cd ~
curl -sL deb.nodesource.com/setup_14.x -o nodesource_setup.sh
nano nodesource_setup.sh
sudo bash nodesource_setup.sh
sudo apt install nodejs
node -v
npm -v
In order for some npm packages to work (those that require compiling code from source, for example), you will need to install the build-essential package:
“sudo apt install build-essential”
# Installing PM2
“sudo npm install pm2@latest -g”
Applications that are running under PM2 will be restarted automatically if the application crashes or is killed, but we can take an additional step to get the application to launch on system startup using the startup subcommand. This subcommand generates and configures a startup script to launch PM2 and its managed processes on server boots:
“pm2 startup systemd”
replace YOUR_USERNAME with your user’s name.
“sudo env PATH=$PATH:/usr/bin /usr/lib/node_modules/pm2/bin/pm2 startup systemd -u YOUR_USERNAME — hp /home/YOUR_USERNAME”
“pm2 save”
Start the service with systemctl:
“sudo systemctl start pm2-YOUR_USERNAME”
Check the status of the systemd unit:
“systemctl status pm2-YOUR_USERNAME”
now go into your projects directory using “cd your_Project”
and run your project using pm2 by typing :
pm2 start npm --name "app name" -- start
now your project is running on some port note that PORT_NUMBER.
and goto nginx configuration file that we created earlier
“sudo nano /etc/nginx/sites-available/YOUR_DOMAIN.com”
Within the server block, you should have an existing location / block. Replace the contents of that block with the following configuration. If your application is set to listen on a different port, update the highlighted portion to the correct port number:
server {
...
    location / {
        proxy_pass http://localhost:3000;
        proxy_http_version 1.1;
        proxy_set_header Upgrade $http_upgrade;
        proxy_set_header Connection 'upgrade';
        proxy_set_header Host $host;
        proxy_cache_bypass $http_upgrade;
    }
...
if you have multiple project running on single domain with diff. port number then,
server {
...
    location / {
        proxy_pass http://localhost:3000;
        proxy_http_version 1.1;
        proxy_set_header Upgrade $http_upgrade;
        proxy_set_header Connection 'upgrade';
        proxy_set_header Host $host;
        proxy_cache_bypass $http_upgrade;
    }
    location /app2 {
          proxy_pass http://localhost:3001;
        proxy_http_version 1.1;
        proxy_set_header Upgrade $http_upgrade;
        proxy_set_header Connection 'upgrade';
        proxy_set_header Host $host;
        proxy_cache_bypass $http_upgrade;
    }
...
}
Once you are done adding the location blocks for your applications, save the file and exit your editor.
Make sure you didn’t introduce any syntax errors by typing:
“sudo nginx -t”
“sudo systemctl restart nginx”
you’r done visit your domain name with correct port and you can see your project up and running.
your Node.js application is running